

Windows has made easy process to switch default media player in Windows 11 which ensures your media files open automatically in your preferred apps. Windows 11 continues to develop with each update which allow you to customize its settings with your preferred default media player. When Microsoft introduced the new Media Player for Windows 11, it often replaced older defaults media player like Movies & TV and the classic Windows Media Player for handling media files (like MP4s, MP3s, etc.). Whether you prefer VLC Media Player, Media Player Classic, KMPlayer, or another third-party app over the built-in Windows Media Player or the new Windows 11 Media Player, you can easily change the default.

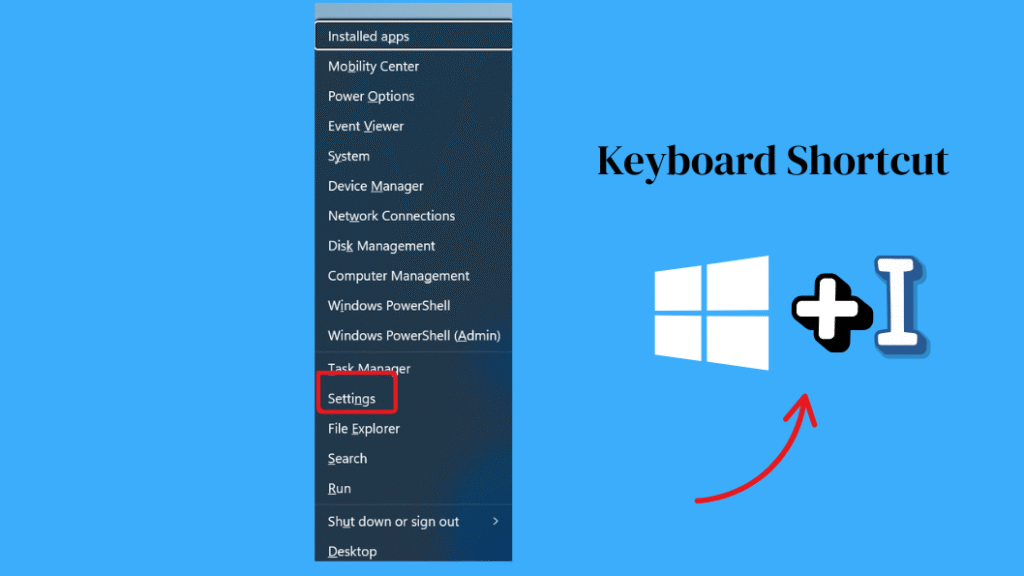
Method 1: Change Default Media Player via Settings
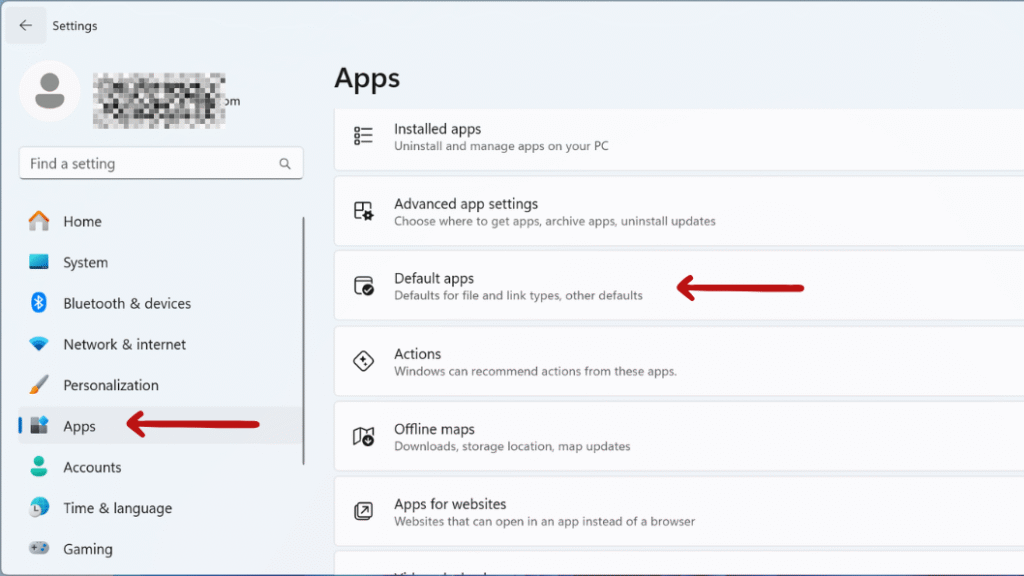
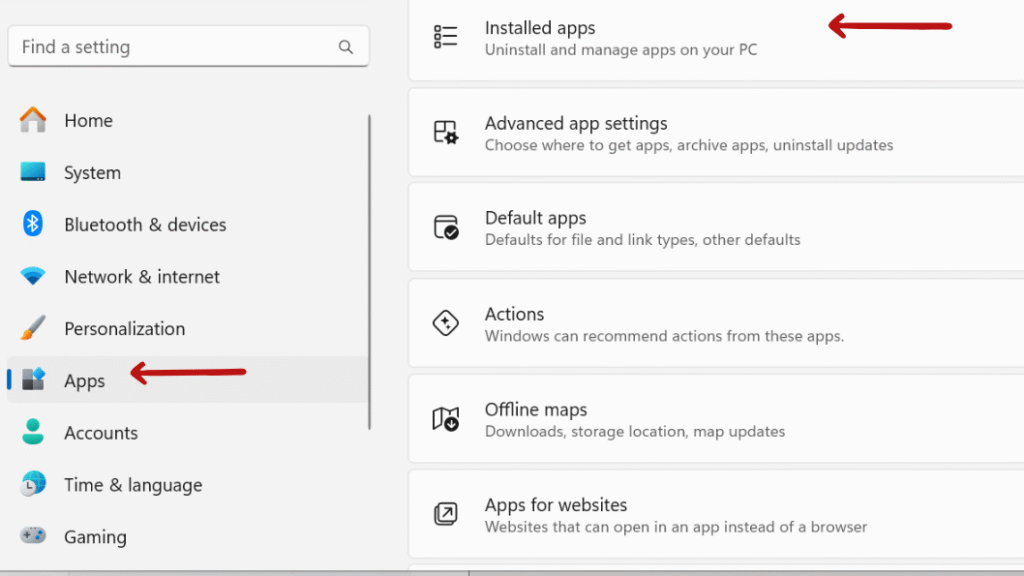
Step 2: In the left sidebar, click Apps, then choose Default apps from the right pane.
Step 3: In the search bar under “Set defaults for applications,” enter your preferred media player, such as VLC Media Player or KMPlayer. Then, open the application and click on “Set default.”

Step 4: Set Defaults by File Type: For file types such as .mp4, .mp3, .avi, .mkv, and others, you can set your preferred default app. Click on each file type you wish to associate with your media player. A pop-up will appear; select your desired media player and click OK.
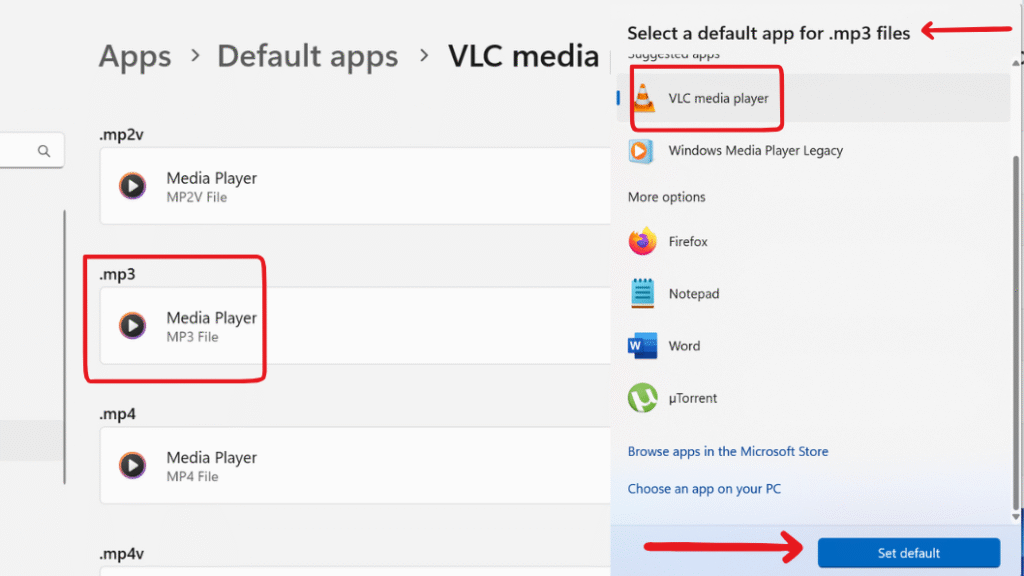
On Windows 11, you cannot set a default media player for all media types with a single click — unlike older versions of Windows. you must assign your preferred media player to each file type individually (e.g., .mp4, .mp3, .avi, .mkv, etc.). When customizing your default media player, it’s best to prioritize common file extensions—for videos: .mp4, .avi, .mkv, .mov, and .wmv; and for audio: .mp3, .wav, .aac, .flac, and .ogg.
Method 2: Change Default Apps by File Type
Step 2: In the left sidebar, click Apps, then choose Default apps from the right pane.

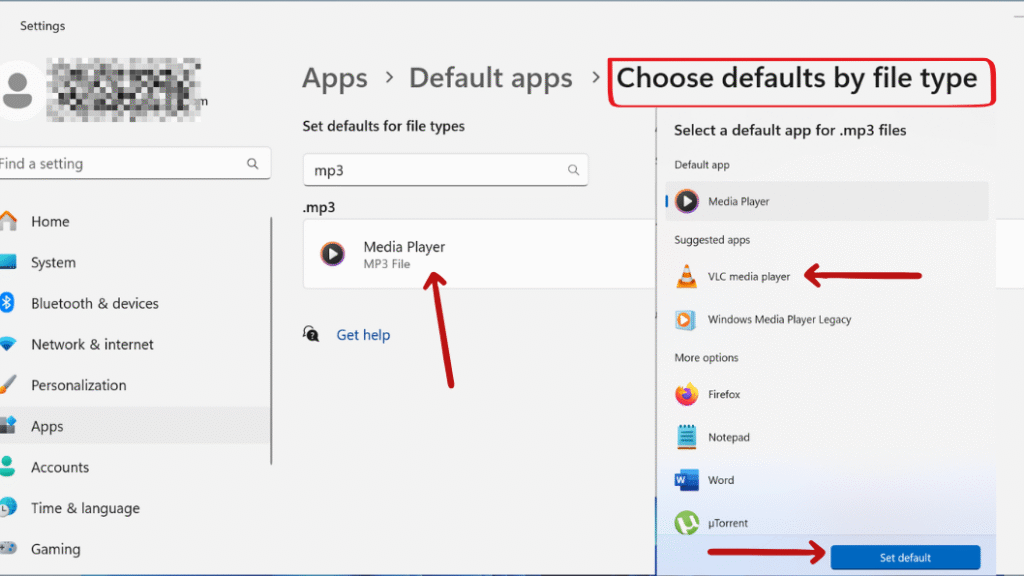
Step 4: You’ll see a long list of media file extensions (like .mp3, .mp4, .avi).For each media file extension, click on the current default app and choose your preferred app from the list.
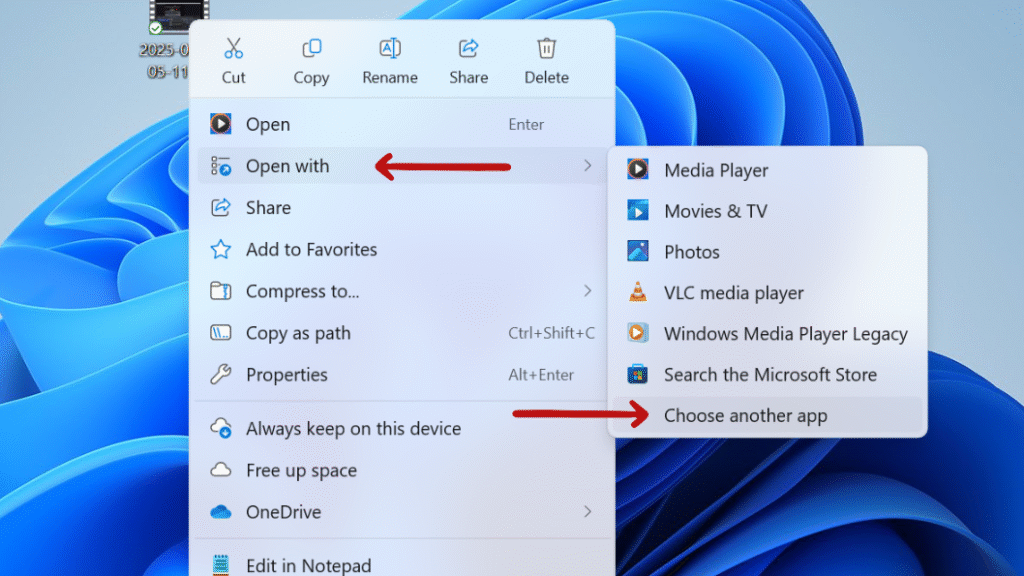
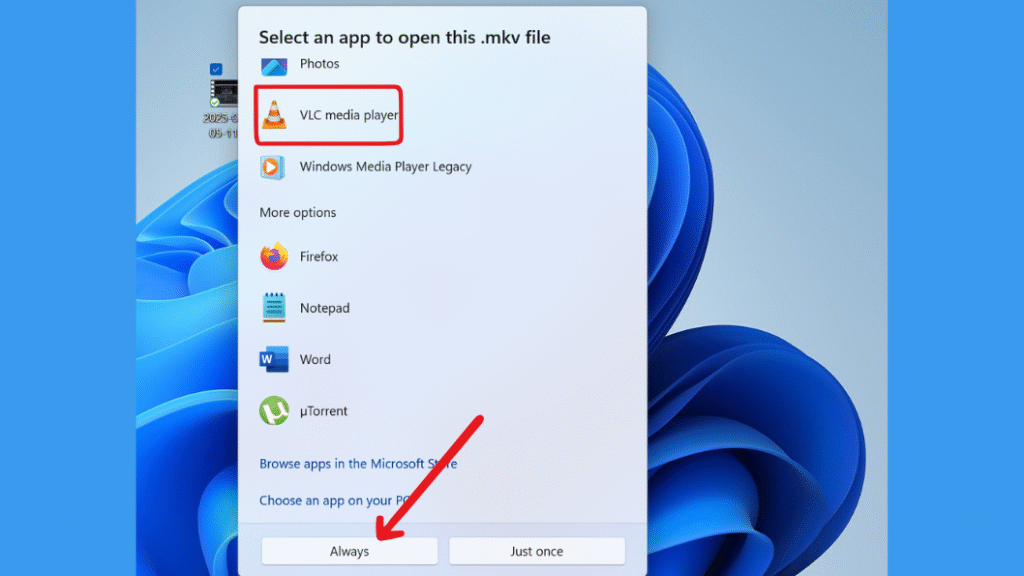
Method 3: Use “Open With” and Set as Default
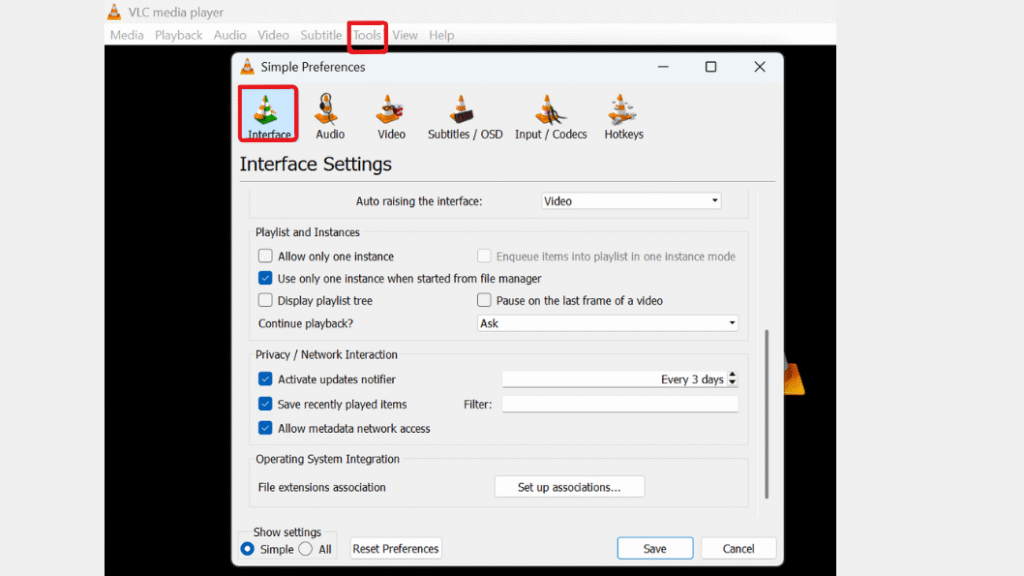
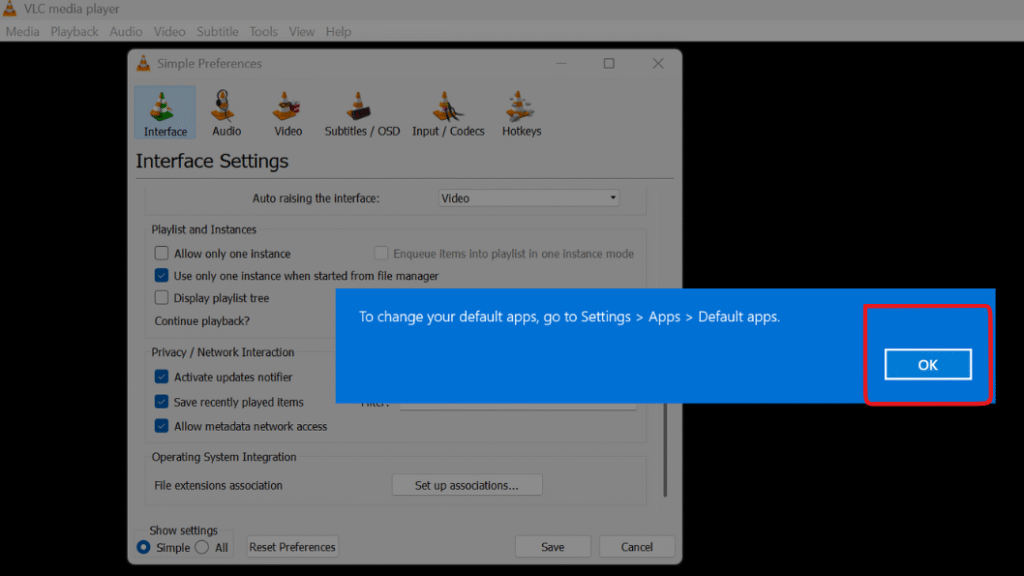
Method 4: Set Default Apps Through Media Player Settings
Example: Set File Associations in VLC

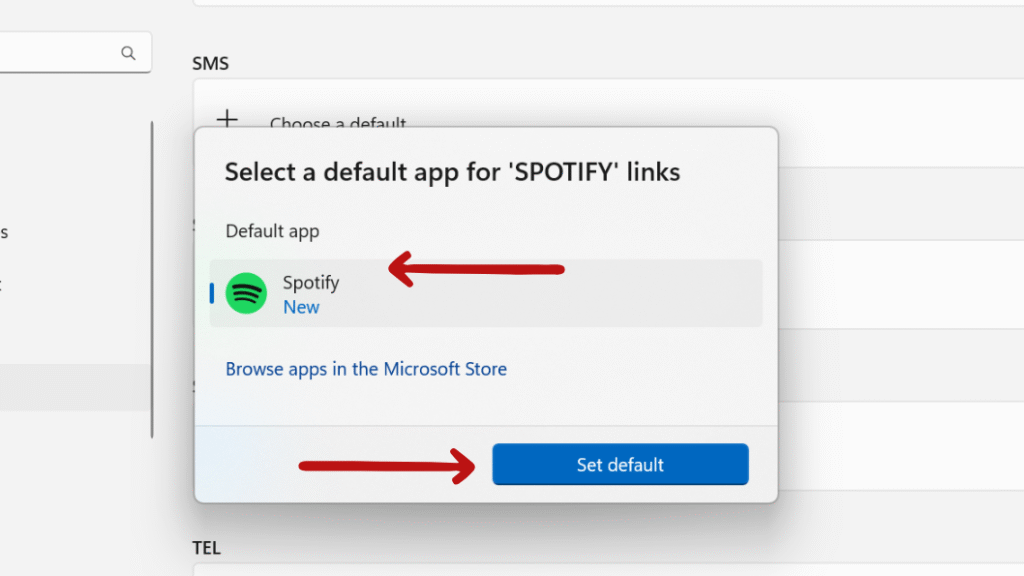
Method 5: Set Preferred Music App for Voice and Playback Controls

Step 3: Look for protocols like:
spotify:
mswindowsmusic:
itunes:
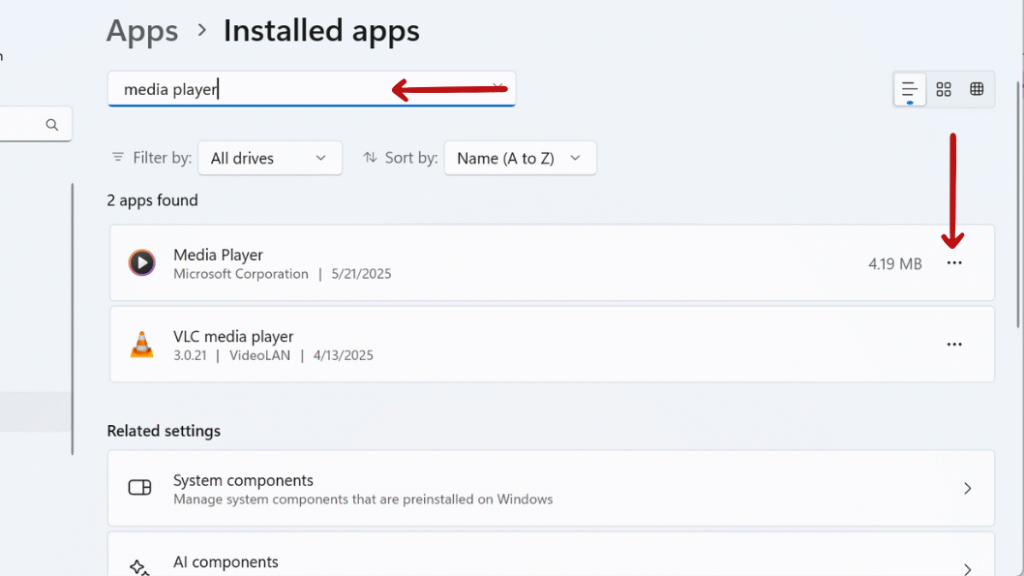
How to Remove or Hide the Default Windows Media Player
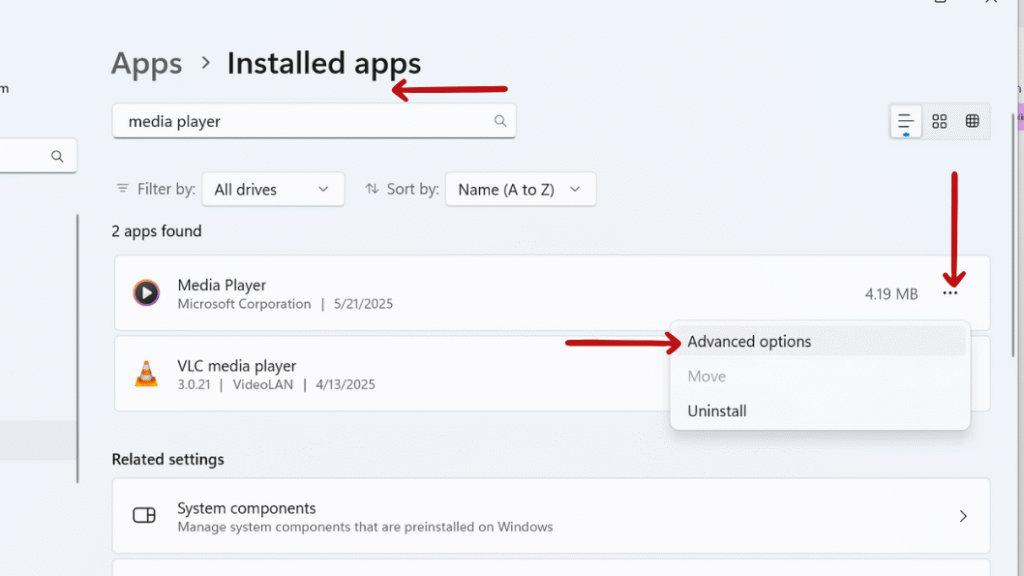
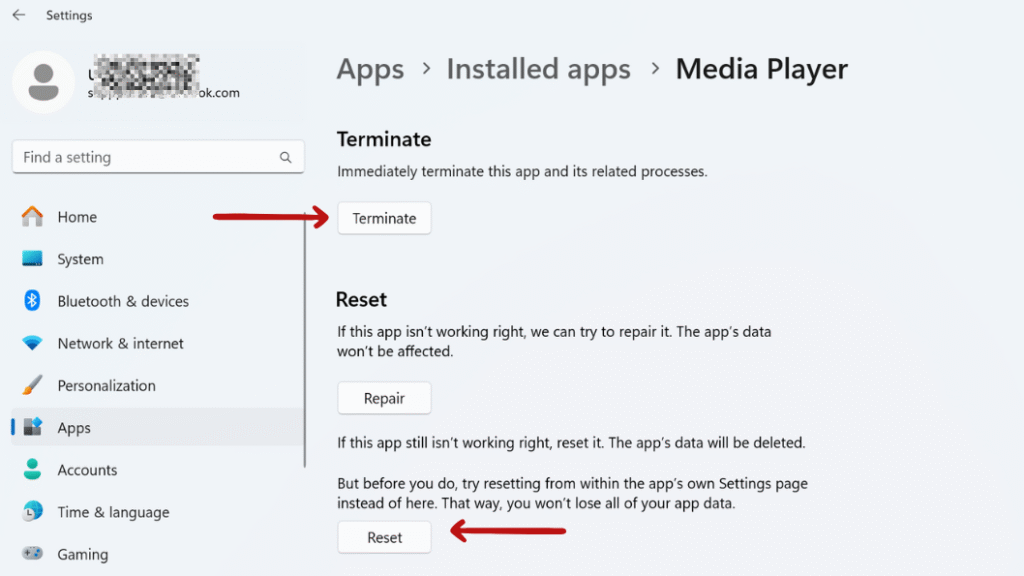
Step 5: • In the Advanced options screen, you’ll see two buttons:
- Terminate – Instantly stops the app if it’s running in the background.
- Reset – Erases the app’s data (settings, preferences, etc.) and returns it to its original state.
It enables voice commands such as “Play music” or media buttons on Bluetooth devices (e.g., car stereo) to utilize the default music application preferred by the user.
Final Thought: How to Change and Set the Default Media Player in Windows 11
Setting your default media player in Windows 11 gives you a complete control over how you experience videos and music. Windows provides the improved Settings interface in 2025, which is more transparent and user-friendly.
Whether you’re watching movies, editing sound, or just playing songs while you work, using a media player you trust makes a big difference. Choose your favorite media player app, set it as default, and enjoy a smoother media experience!
Still confused or stuck about How to Change and Set the Default Media Player in Windows 11? Leave your questions in the comments or call me at +1– 844-405-0212. I am here to help!
Stay updated with more at www.365dayson.com !