Windows 11 offers a built-in network troubleshooter that can automatically detect and fix common network issues and restore default network settings.
Step 1: Open Settings by pressing the shortcut (Win + I). Then, navigate to System > Troubleshoot > Other troubleshooters.
Step 2: Scroll down and click Run next to Network and Internet. Follow the on-screen instructions. This troubleshooter fixes issues such as invalid IP configurations or gateway errors.
Check Ethernet adapter whether it is turned on or off in your system settings. If it’s disabled, your PC won’t detect any wired network connections. You can check and enable it through the Control Panel or Network Settings.
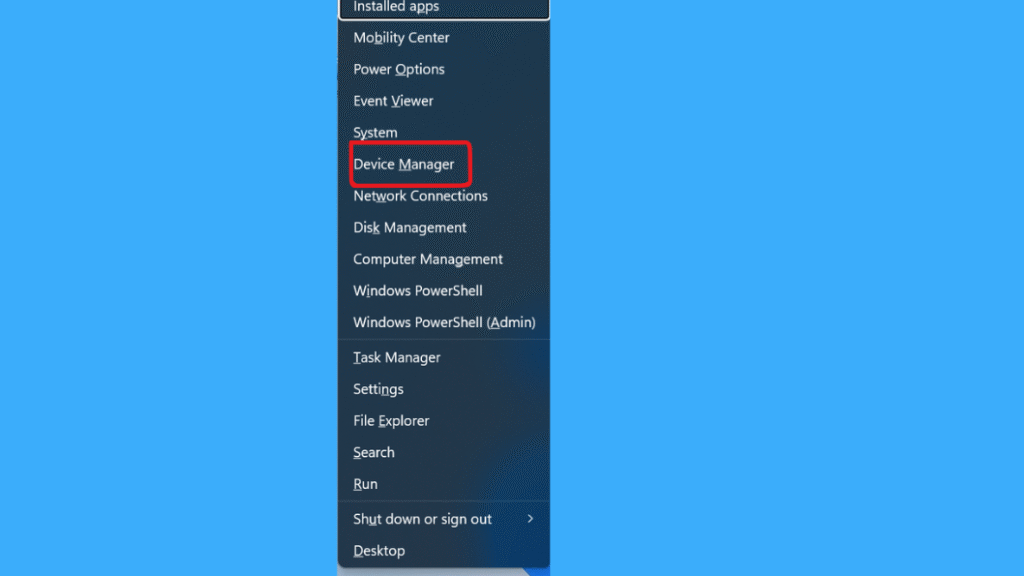
Step 1: Press Windows + X and select Device Manager.
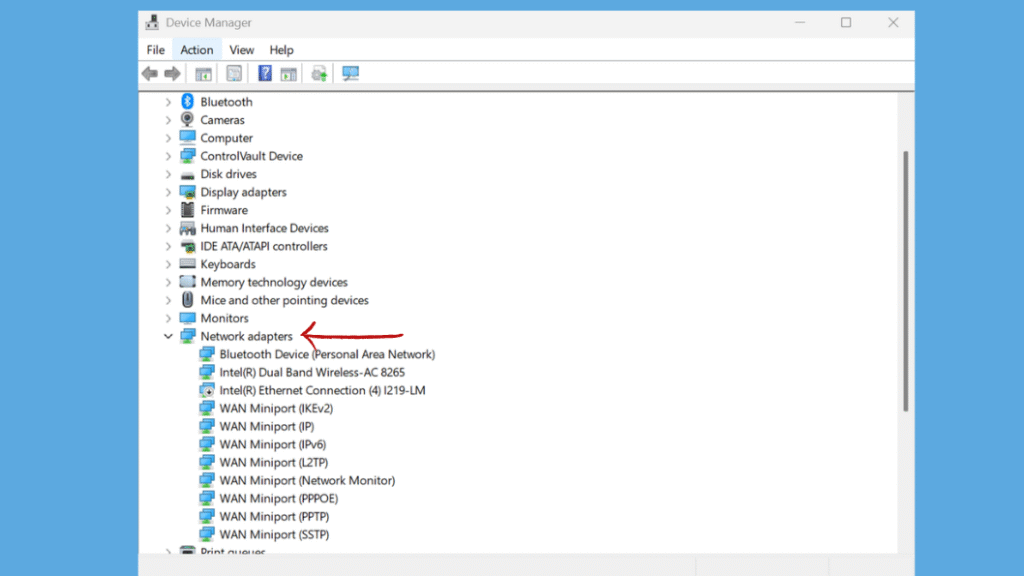
Step 2: Navigate to Network adapters and Expand It.
Step 3: Look for your Ethernet adapter Driver (usually labeled something like (“Realtek PCIe or Intel ethernet Controller”).
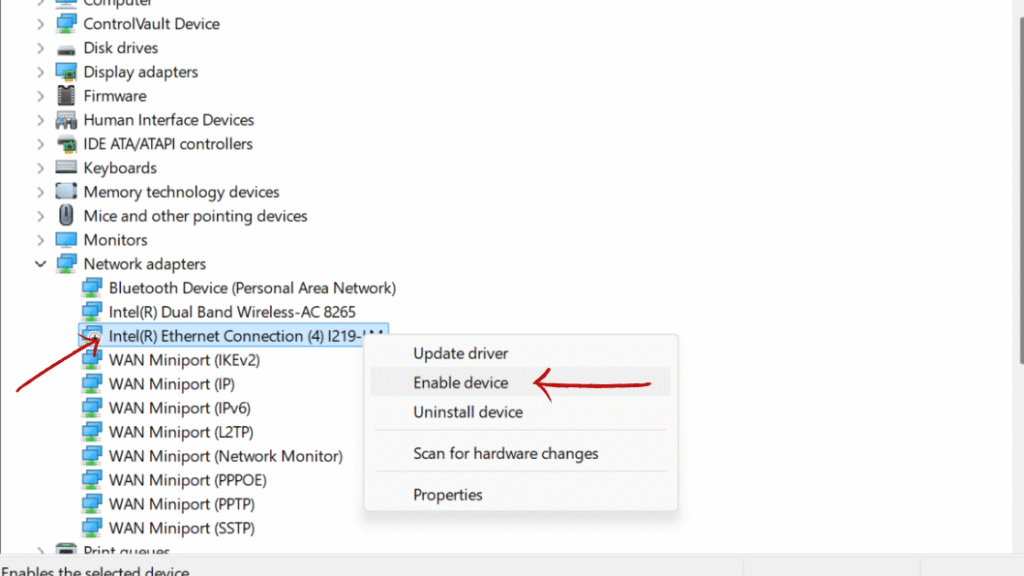
Step 4: Right-click on ethernet adapter and choose Enable Device.
Corrupted or incompatible network drivers often cause connectivity issues especially after major Windows 11 updates. If you update or reinstall the latest compatible network drivers from the system manufacturer’s official website that may often resolve ‘No Internet’ errors or unrecognized network adapters in Windows PCs.
Step 1: Press Windows + X and select Device Manager.
Step 2: Navigate to Network adapters and Expand It.
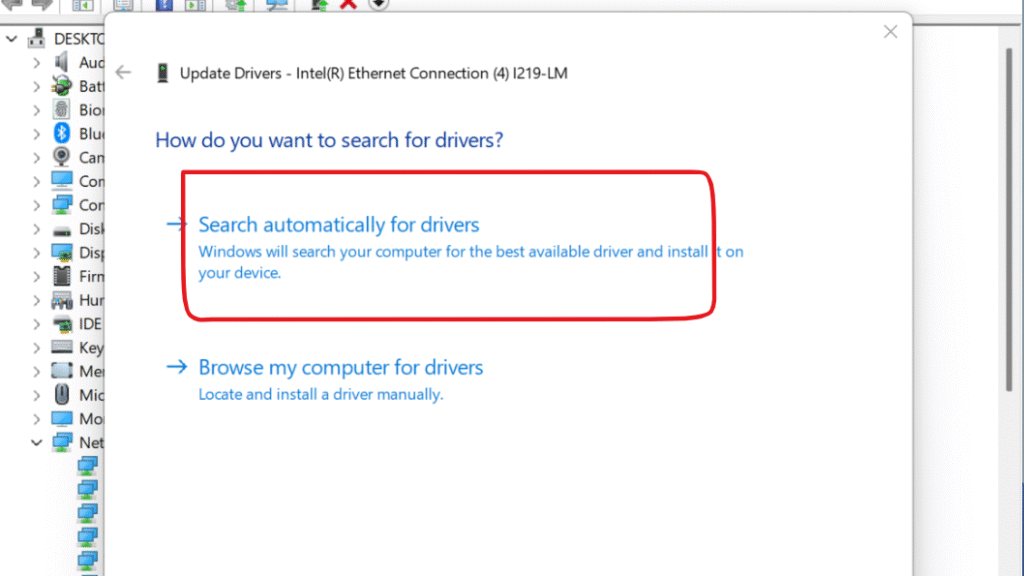
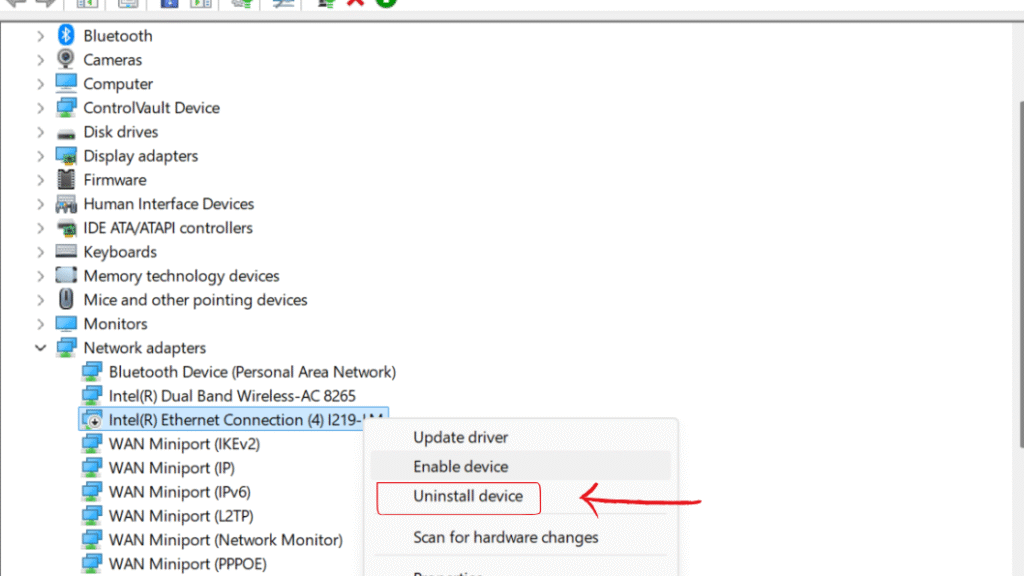
Step 3: Right-click your Ethernet adapter driver (Realtek PCIe or Intel ethernet Controller”) and select Update driver.
Step 4: Choose Search automatically for drivers.
Step 5: If an update is available, install it and restart your PC. If updating doesn’t resolve the issue, right-click your Ethernet adapter driver, then select Uninstall device. After uninstalling, restart your PC and reinstall the default driver automatically.
Step 6: Download the Ethernet driver from the official website of your system manufacturer and install it on your device. It should then detect your Ethernet connection below in your device settings.
Resetting network settings restores all network related settings to their default state. This can fix internet connectivity issues by removing custom settings, saved networks and reinstalling network adapters driver.
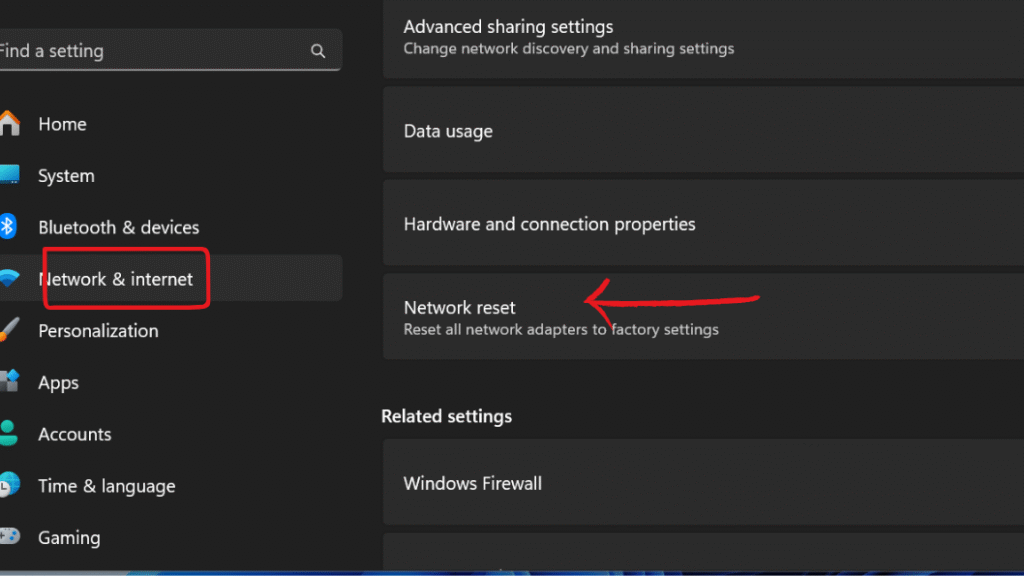
Step 1: Press Windows + I to open Settings, then navigate to Network & Internet and click on Advanced network settings.
Step 2: Click on Network reset.
Step 3: Select Reset now, then restart your PC.
Updating your Windows can often resolve network issues caused by bugs or outdated drivers. Check for and install the latest Windows updates to ensure you have the most recent fixes, drivers, and security patches.
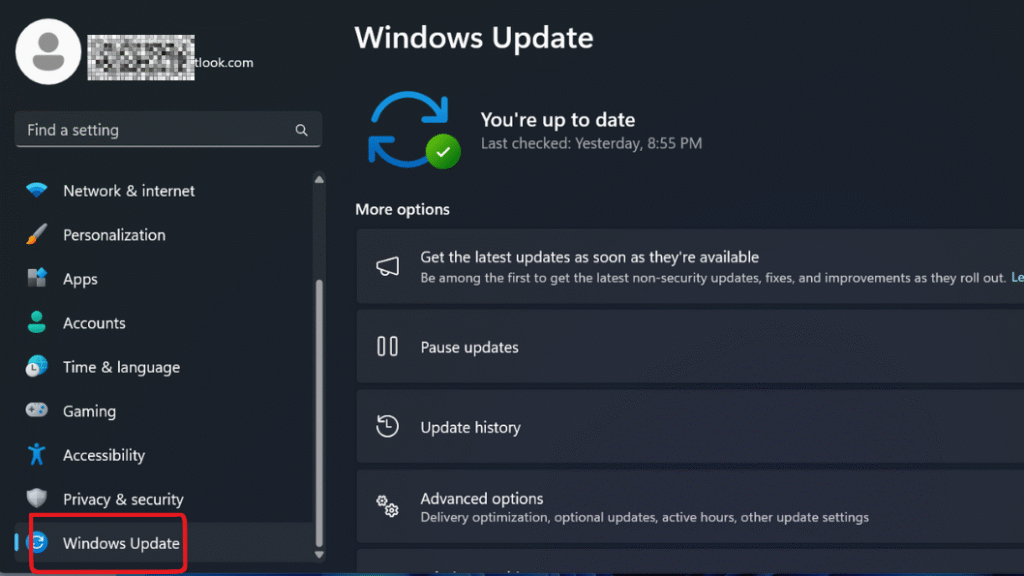
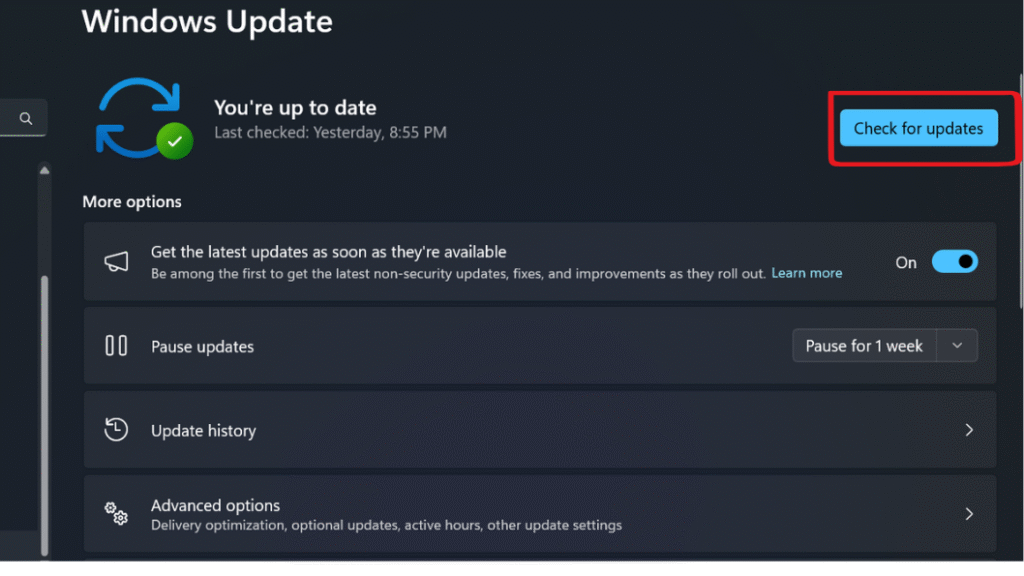
Step 1: Go to Settings > Windows Update.
Step 2: Click on Check for updates and install any available updates and restart your system.
Adjusting your network adapter settings can help resolve connectivity issues by correcting the IP configuration, enabling necessary protocols and ensuring the adapter is properly set up for your specific network type.
Step 1: Press Windows + X and select Device Manager.
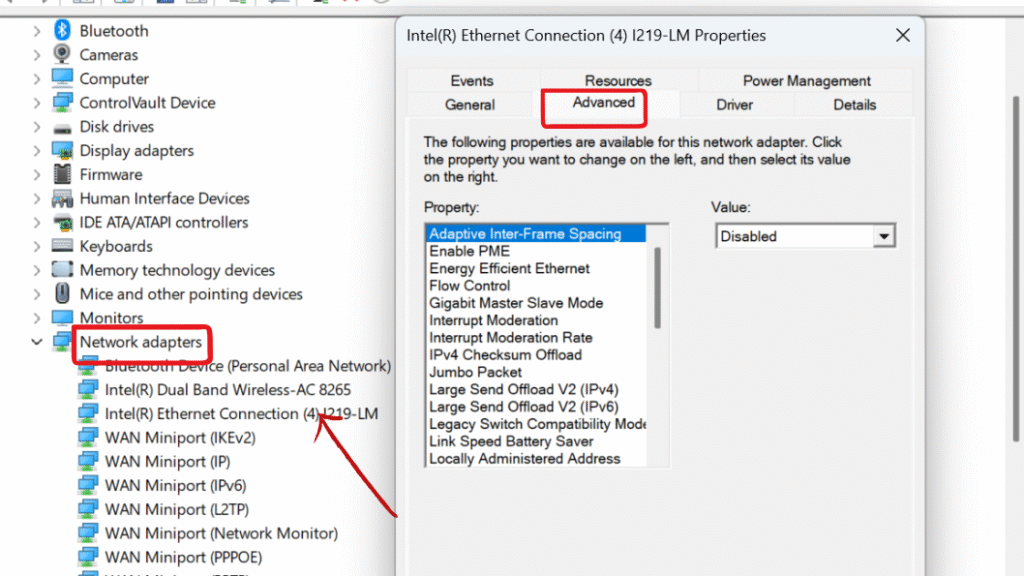
Step 2: Expand Network Adapters and right-click your Ethernet adapter. Then, click on Properties and navigate to the Advanced tab.
Step 3: Modify the following key settings:
Step 4: Click OK and restart your PC.
Checking the IP and DNS configurations on your device’s network settings helps in determining whether the device is able to communicate with the network as well as the internet. If you have the wrong IP and DNS configurations, it can affect your internet connection. If you check these values, you can often fix connection problems automatically.
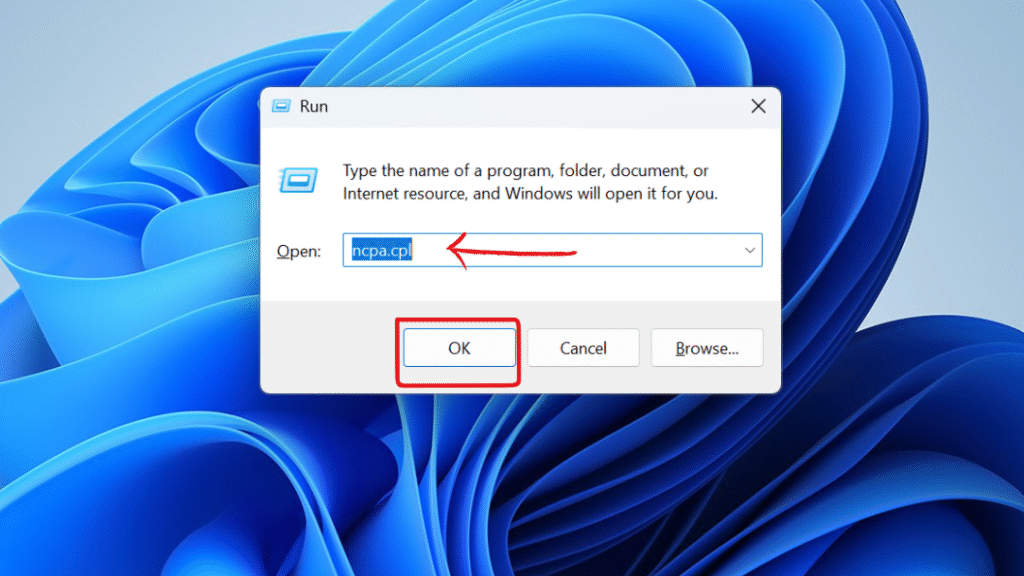
Step 1: Press Windows + R to open the Run box, type ncpa.cpl, and press Enter.
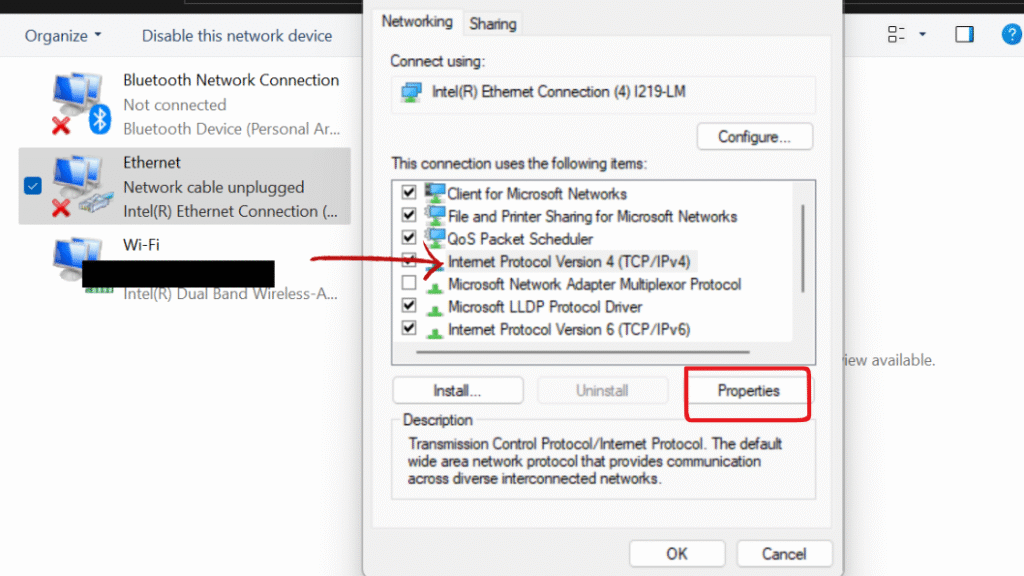
Step 2: Right-click on Ethernet > Properties
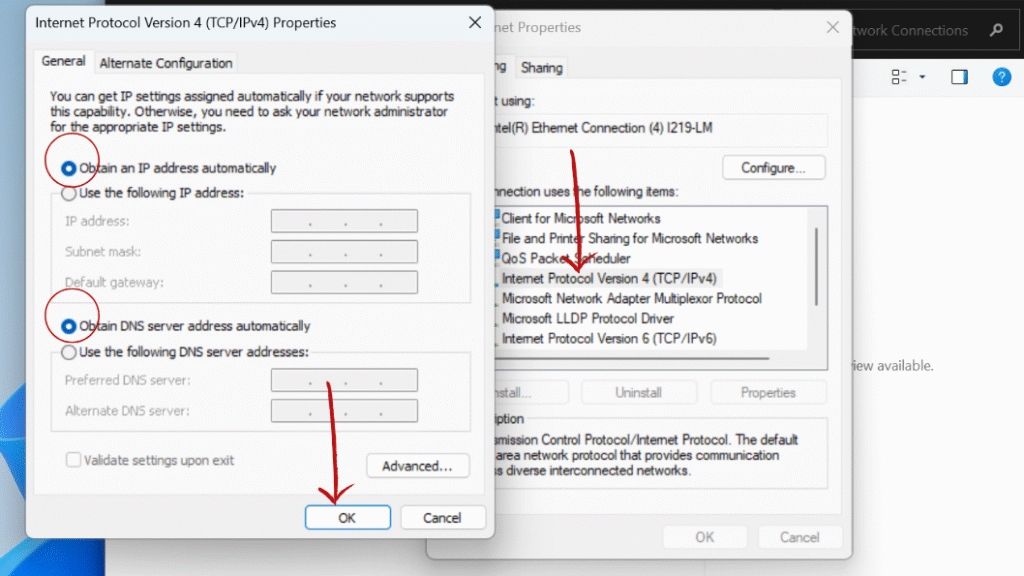
Step 3: Select Internet Protocol Version 4 (TCP/IPv4) and click on Properties, or double-click Internet Protocol Version 4 (TCP/IPv4).
Step 4: Click OK and restart your PC.
Using Command Prompt to reset the network stack clears outdated or corrupted network configurations.
Step 1: Press Windows + S, type cmd, right-click on Command Prompt, and select Run as administrator.
Step 3: Restart your PC. These commands resolve DNS cache issues and reset IP configurations on your PC.
Disabling a misconfigured proxy server or network setting can often resolve internet connection problems. Proxy settings may block or redirect network traffic incorrectly. Verifying and adjusting network configuration ensures your PC connects directly to the internet without unnecessary interference.
Step 1: Press Windows + S, type Internet Options in the search bar, and hit Enter to open.
Step 2: Go to the Connections tab, click LAN Settings, and make sure Use a Proxy Server for your LAN is unchecked .
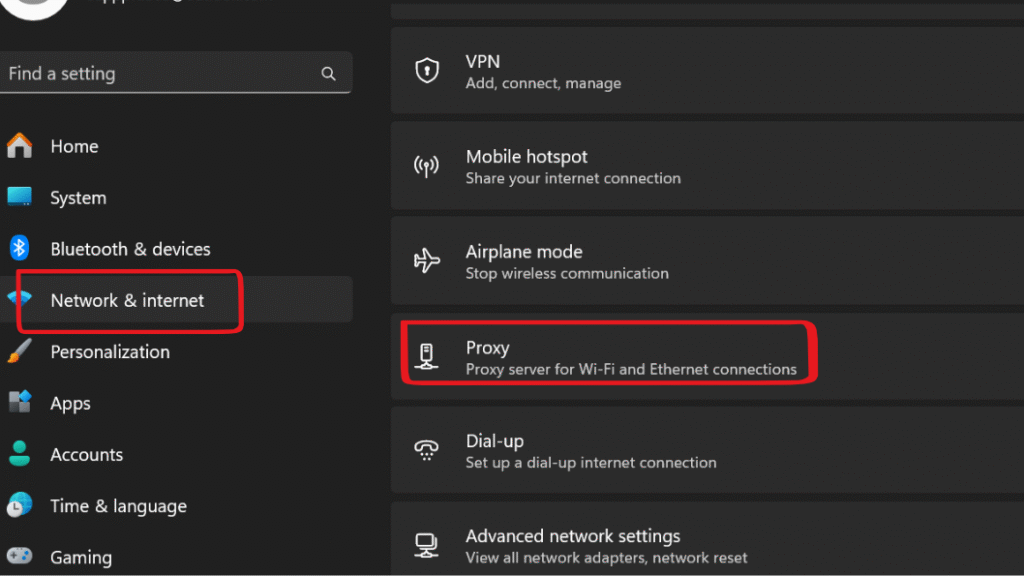
Step 3: Or you can open Settings (Windows + I). Then, go to Network & Internet and click on Proxy.
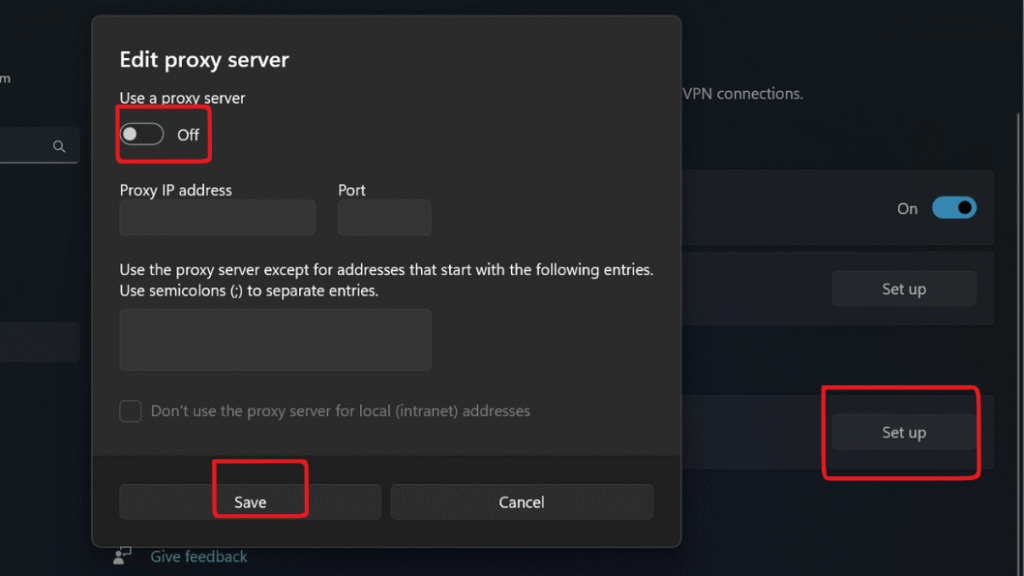
Step 4: Under Manual proxy setup, ensure Use a proxy server is turned off.
Step 6: Click Save, then restart your PC.